This article provides a guide on how to install DotNetNuke (DNN) using the Plesk control panel. DNN is a user-friendly and fully featured content management system built on Microsoft .NET, offering top-of-the-line security, extensibility, and ecosystem.
Important to note, before installing DNN, you must disable your Web Application Firewall (WAF) during the installation process. Once the installation is complete, you can turn the WAF back on.
To temporarily turn the WAP off:
- Login to your Plesk Control Panel and Click the Web Application Firewall link under your Security Settings in the Dashboard.
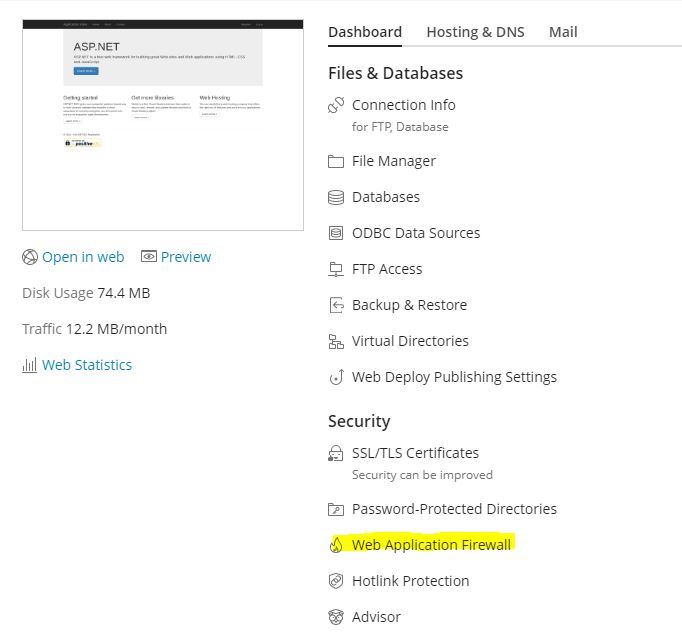
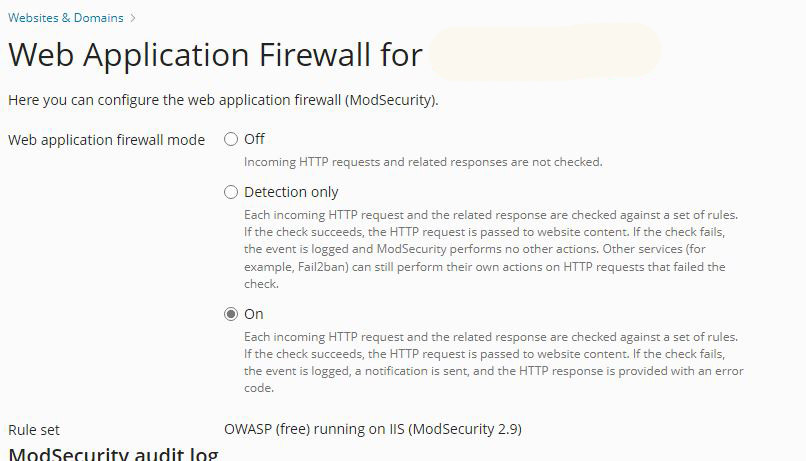
- Click Off on the next Screen and hit Save.
- Now you can go to the next steps to install DNN.
DNN Install
Please note that the latest version of DNN may not be available in the applications repository. If you are unable to find the latest version, you may need to download it directly from the DNN website and install it manually. Alternatively, you can contact Adaptive Customer Support to request our free DNN installation service.
- Log in to your Plesk control panel.
- Click on "Applications" in the left sidebar.
- On the "Applications" page, click "All Available Applications."
- Type "DotNetNuke" in the search box and press enter. The search results will show DotNetNuke.
- Click "Install" next to DotNetNuke. This will take you to the "Installation of DotNetNuke" page.
- In the "Specify the location where this web application should be installed" section, choose the protocol, domain, and directory.
- Click "Install." Plesk will install the application and display configuration settings, including login information.
- If you require any assistance with the installation, contact Adaptive Customer Support, as we offer FREE installation of DNN.
For more information on DotNetNuke (DNN), please visit https://www.dnnsoftware.com.
