- Email DKIM signing is an important element in maintaining a good email sending reputation. To enable DKIM signing on SmarterMail, follow these steps:
- Log in as the domain administrator. Note that users set up in the Plesk control panel are not domain administrators. To set up a user as a domain admin, please contact customer support through a support ticket.
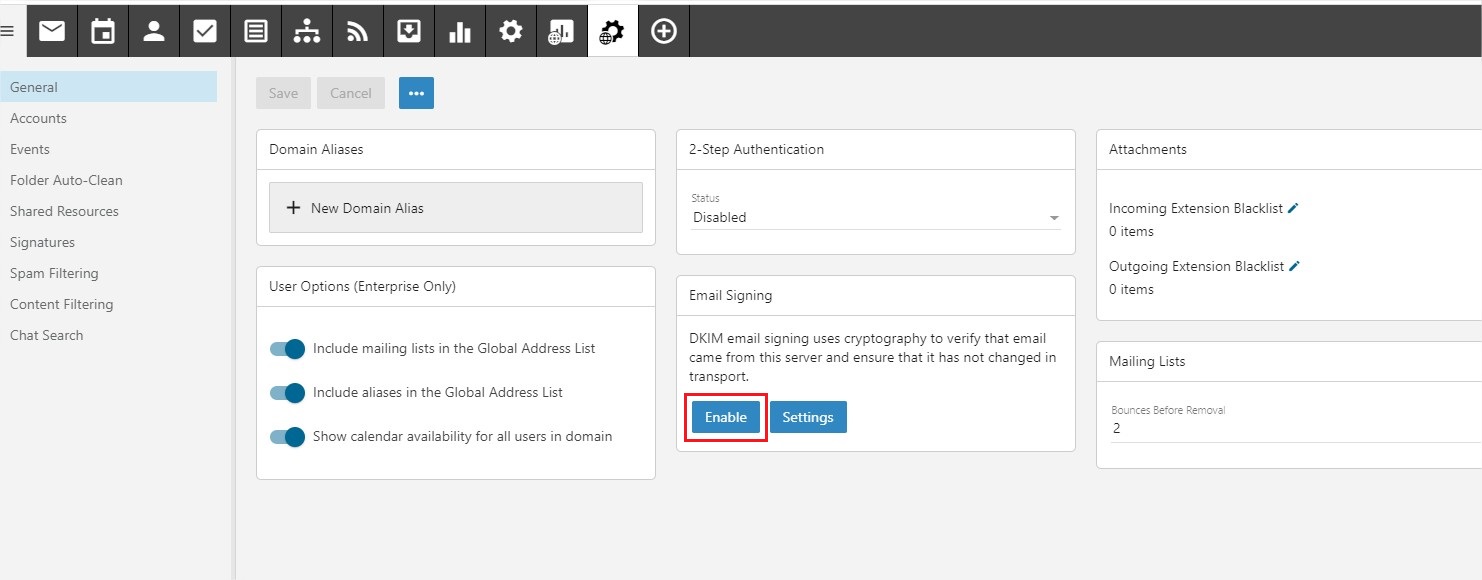
- Under the Domain Settings tab, locate the Email Signing box.
- Click on the Enable button to enable DKIM signing.
2. It will attempt to test if the DKIM record created for the domain, and prompts with the requires TXT DKIM record if it’s not created. Add the TXT record according to the given TXT record name and TXT record value.
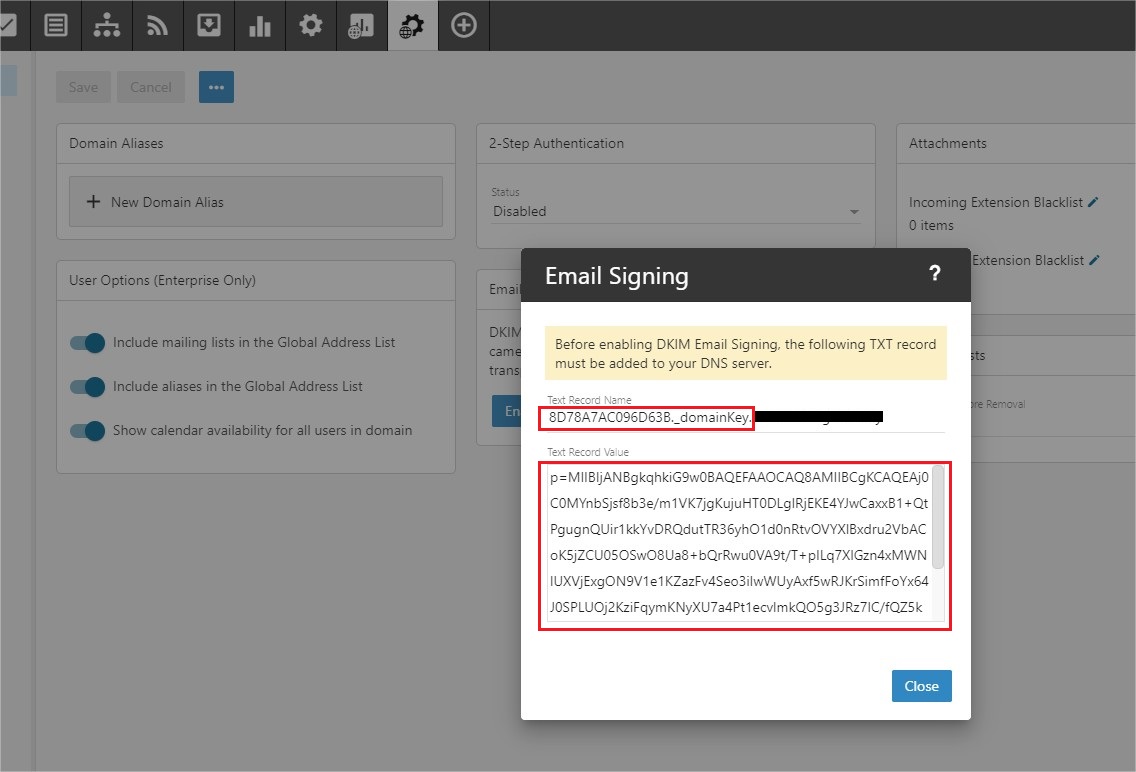
3. Once added the TXT records on the domain DNS zone, wait 1~2 hours for DNS propagation and log into the SmarterMail webmail using the domain administrator account again, click on the Enable button again for the Email Signing box.

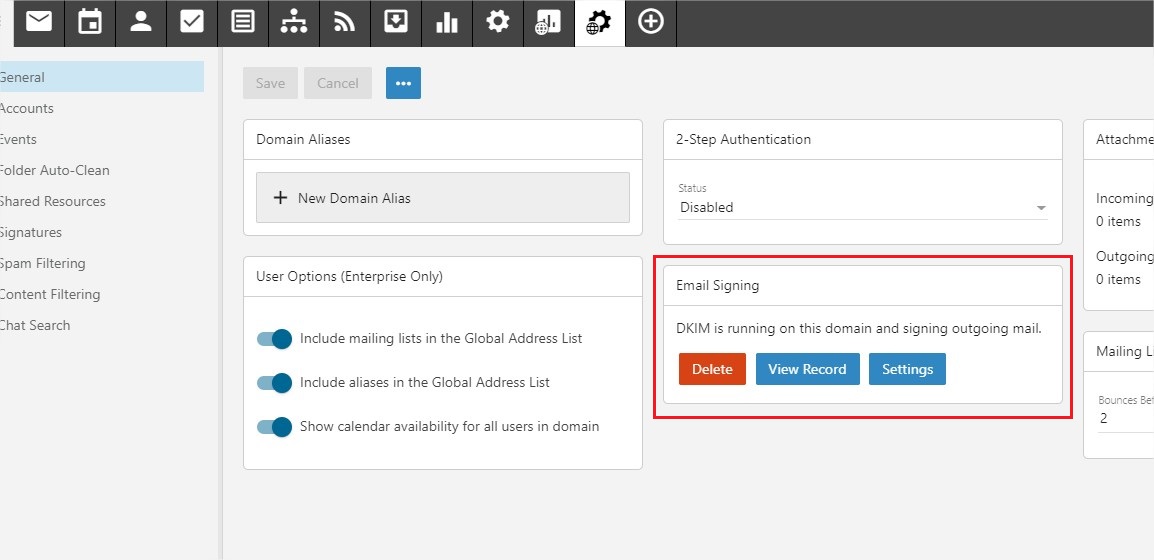
4. It will now verify the TXT record and the Email Signing box status will be changed once the TXT DKIM record verified.