What can you do with the Laravel Toolkit?
- Install Your Laravel application
- Configure Your Laravel Application
- Manage Your Laravel Application
- Troubleshoot Your Laravel Application
- Deploy Your Laravel Application
- Create a simple Laravel application with just a few clicks.
- No need to install anything else. Get required PHP versions, Composer, Artisan, npm, MySQL database, and Git with one click.
- No SSH access? No problem! Manage your applications from the Plesk interface. Run Artisan, npm, and Composer commands, manage the .env file and database, review logs – it’s that easy!
- Pull updates for your Laravel applications from remote Git repositories and configure deployment options.
- Get your application up and running, hosted, and secured with SSL with no hassle – Plesk takes care of everything.
Let us give you a guided tour and walk you through the process of creating your first Laravel application in Plesk.
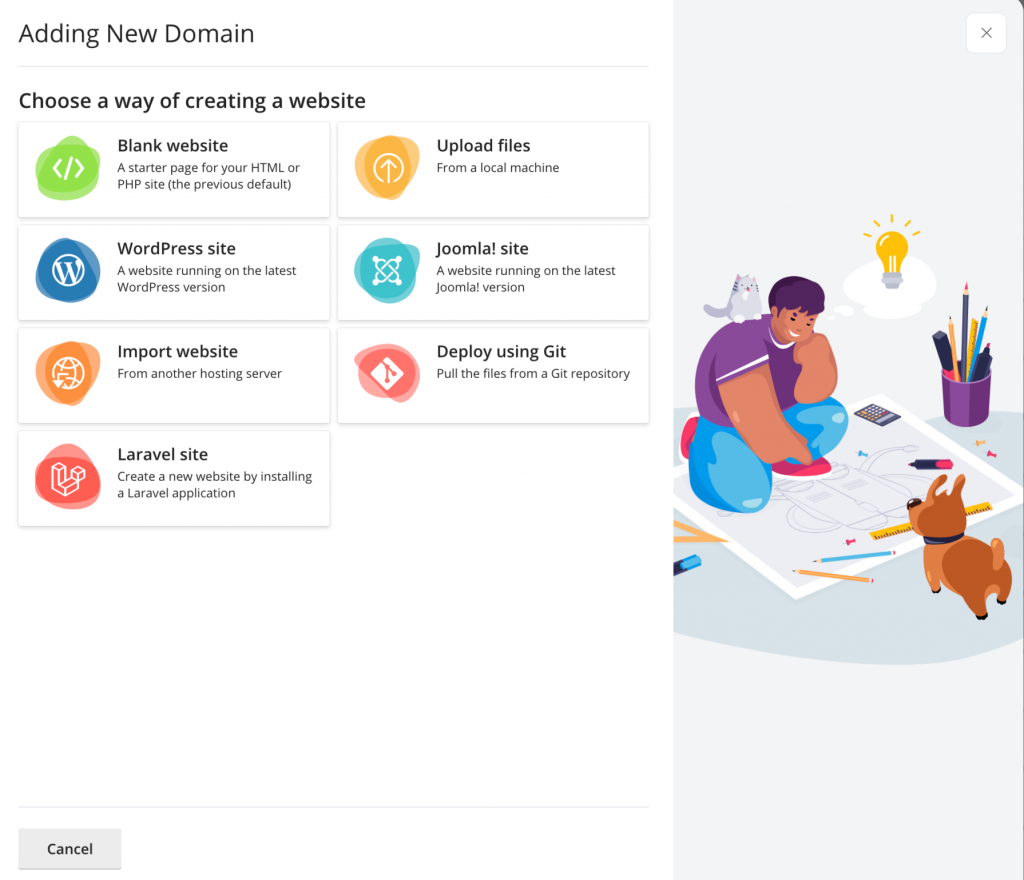
First, create a new domain in Plesk by clicking the ‘Add Domain‘ button and then selecting ‘Laravel site’ from the list of available options.
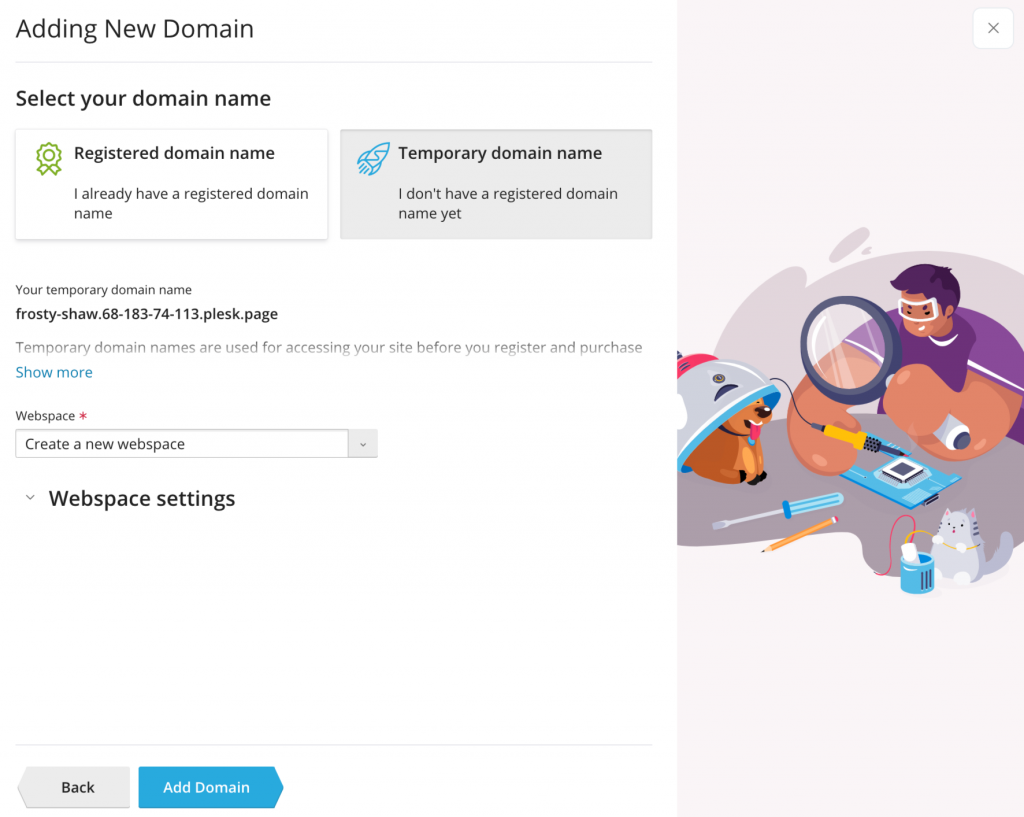
Don’t worry if you don’t have a domain name for the website yet. For now, you can use a temporary domain name, courtesy of Plesk.
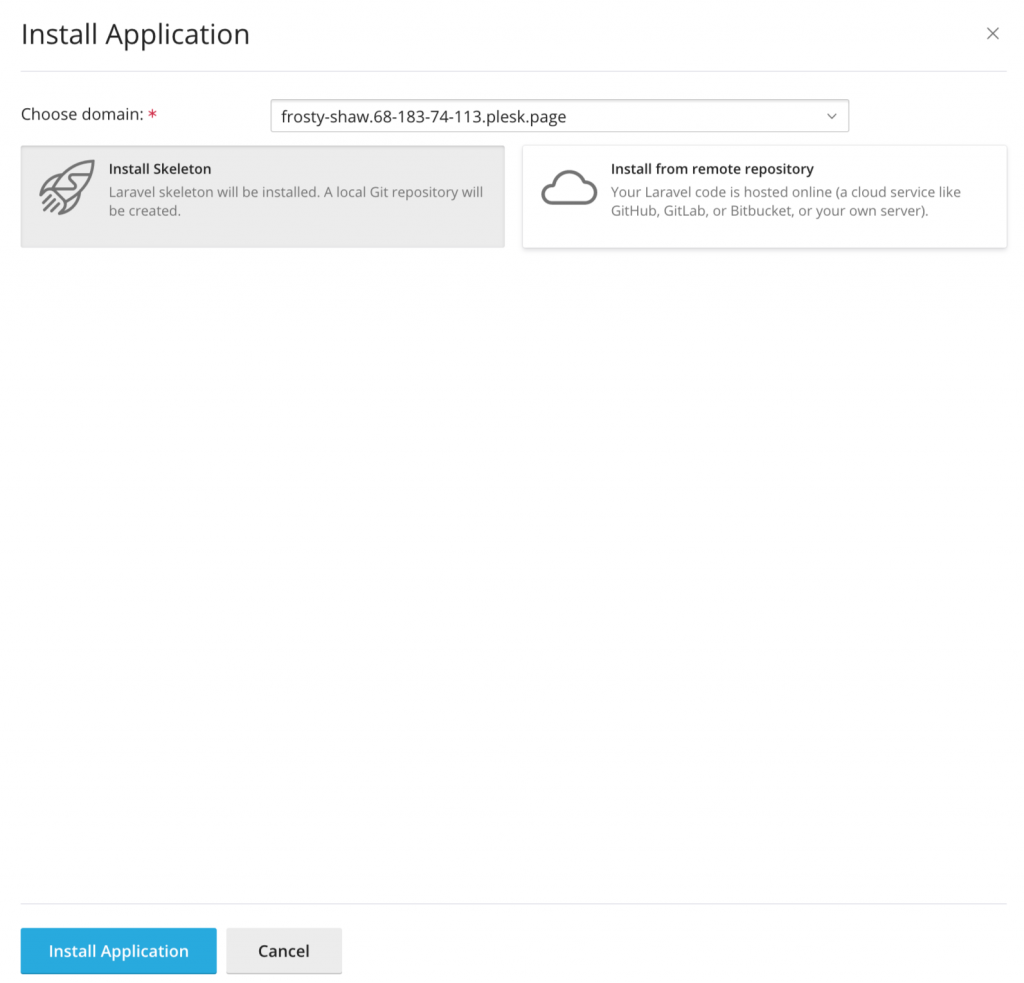
Once the website has been created, Plesk will ask you to choose between installing a default skeleton Laravel application and pulling the application from a remote Git repository. For now, let’s install the skeleton to see the Laravel Toolkit features.
Wait a little bit…
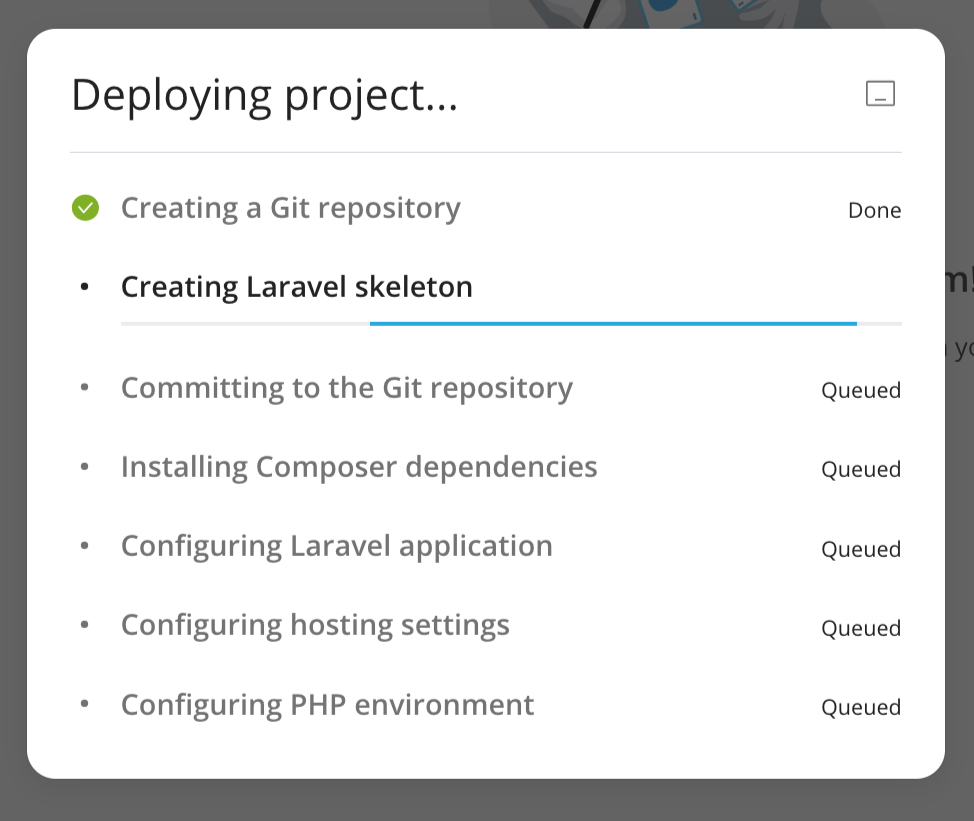
…and it’s ready!

…and it’s ready!
If you gave a mouse a Laravel application, it would ask for a database… or so we suppose. Anyway, let’s carry on and add one for your application.
- First, on the Laravel ‘Information‘ dashboard, click the ‘Manage domain‘ button. This will take you to the ‘Hosting‘ dashboard.
- Once there, click ‘Databases‘, and then ‘Add Database‘.
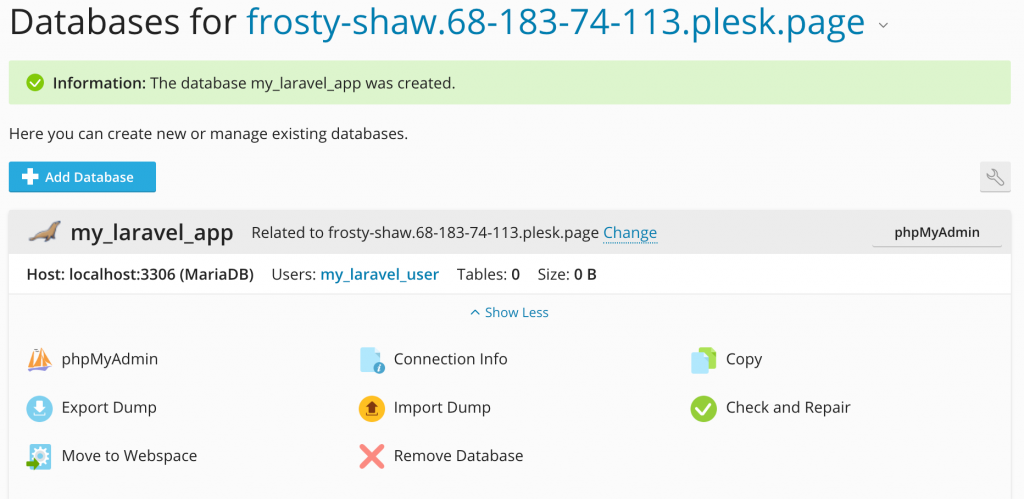
Once the database is created, you need to update the Laravel application configuration file with the information on how to connect to the created database.
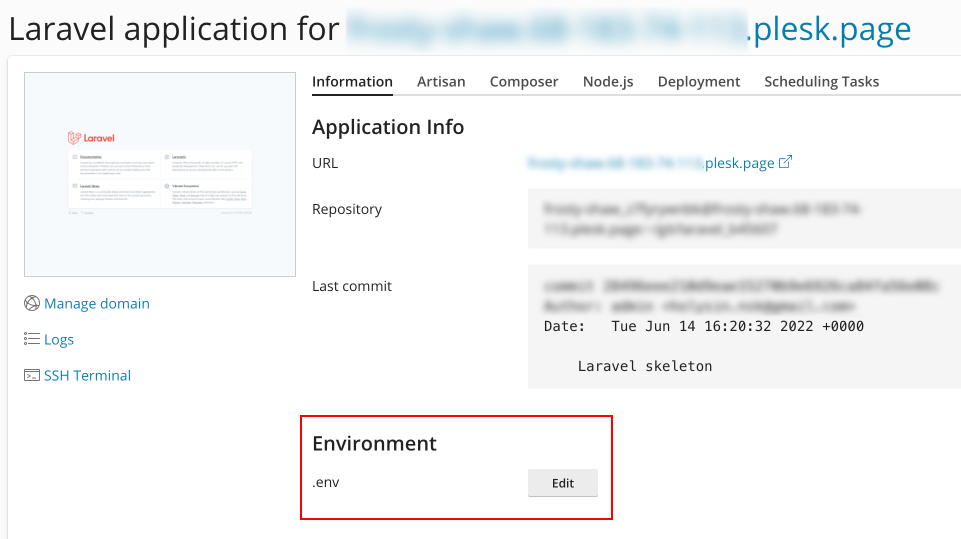
- On the ‘Hosting‘ dashboard, click the ‘Manage Laravel Application‘ button. This will take you to the Laravel card.
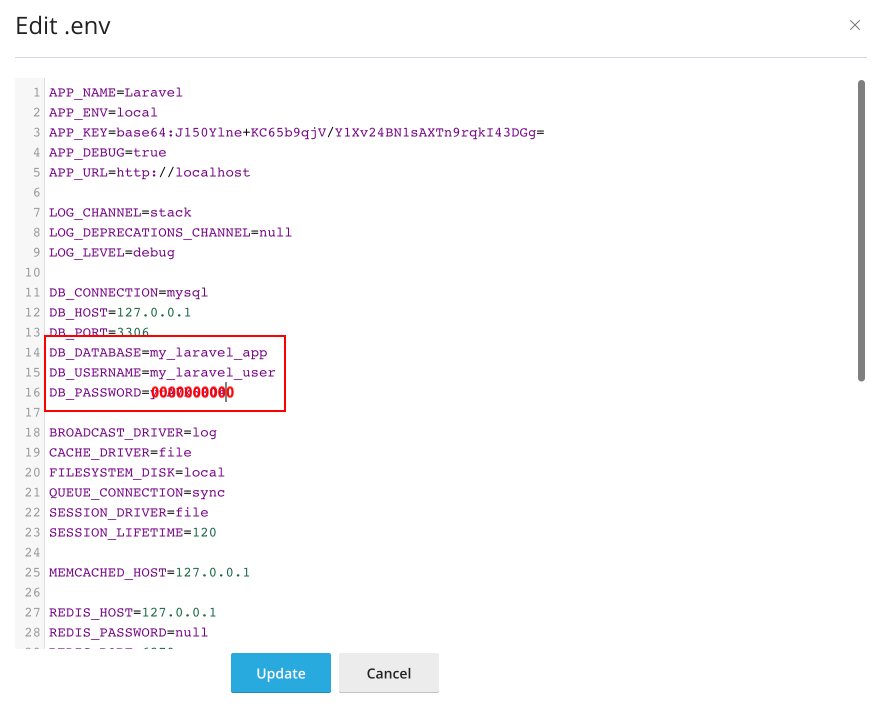
- Once there, open the .env file and add the database credentials.
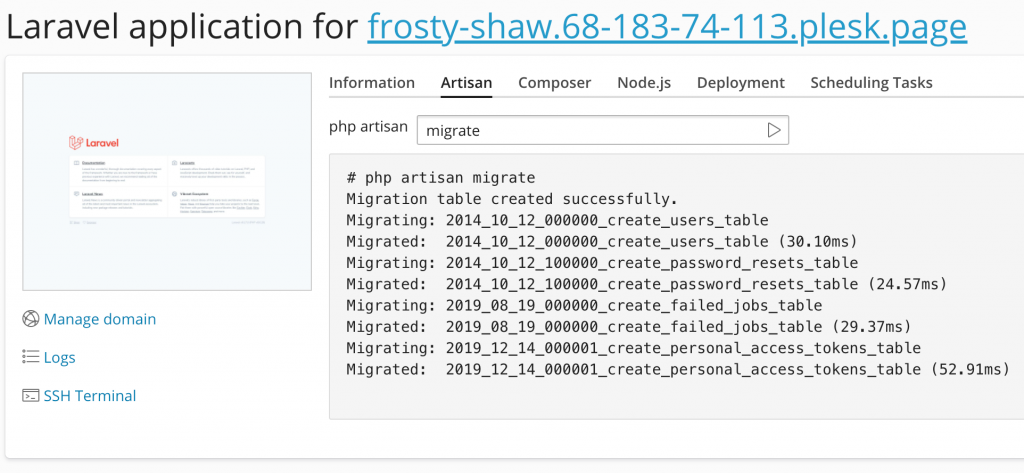
The last step: run the ‘artisan migrate‘ command to create a database.
And yes, you can run the ‘artisan‘ utility straight from the Plesk interface. Switch to the ‘Artisan‘ tab, and then choose the ‘migrate‘ command from the list of preloaded commands.
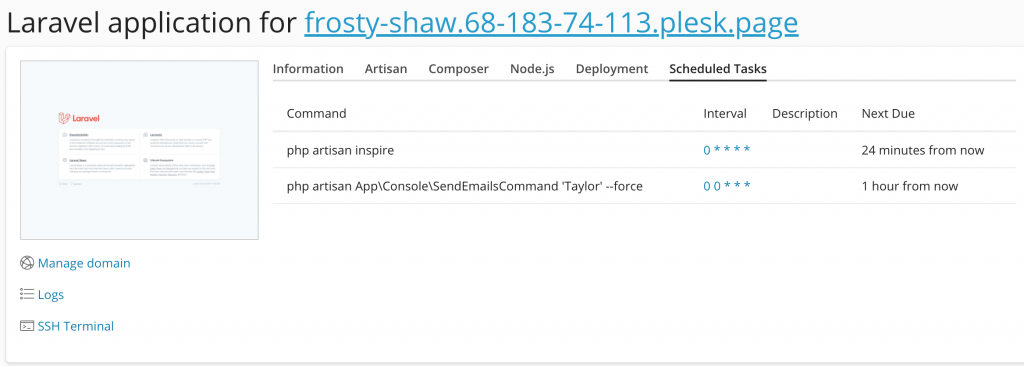
If your Laravel application uses Laravel Task Scheduling, so besides the usual ‘artisan schedule:list‘ command, you can quickly review all scheduled jobs on a separate tab.
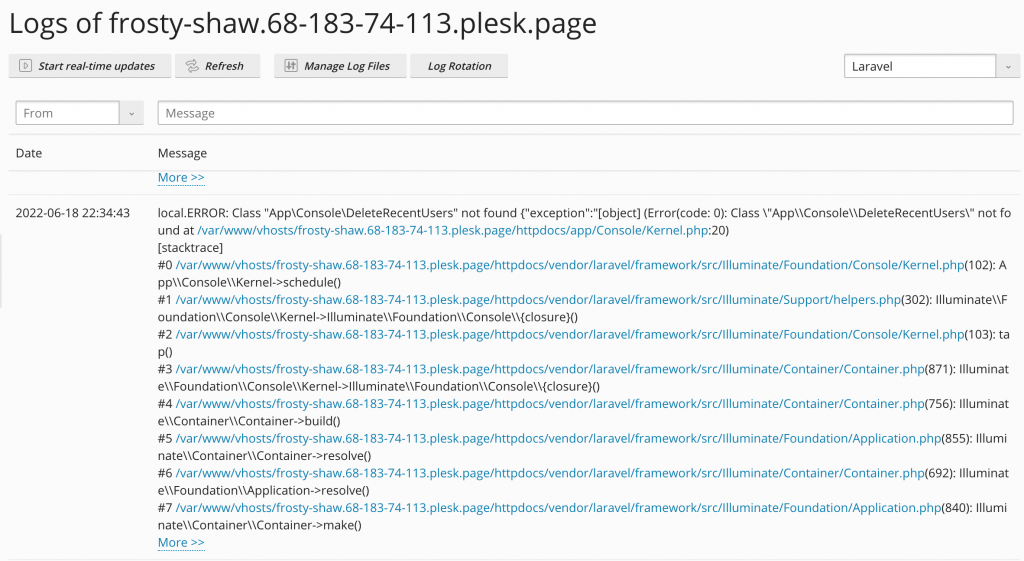
If you configured your application to write its log to a separate file (‘single‘ mode), you can easily access it with using the Plesk Log Browser (click the ‘Logs‘ button on the Laravel ‘Information‘ dashboard).
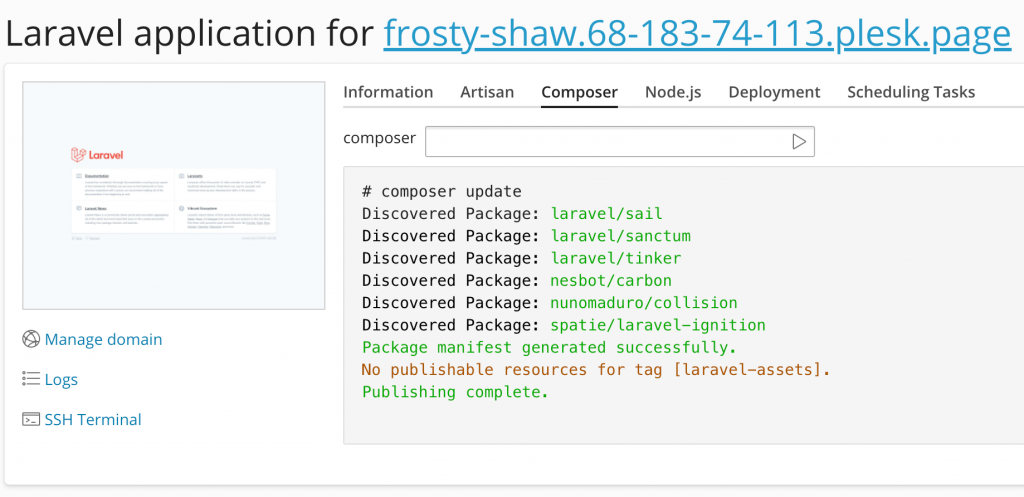
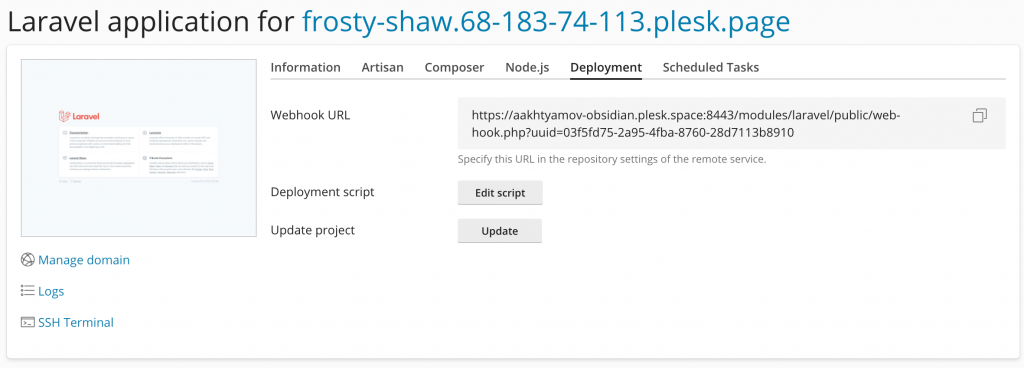
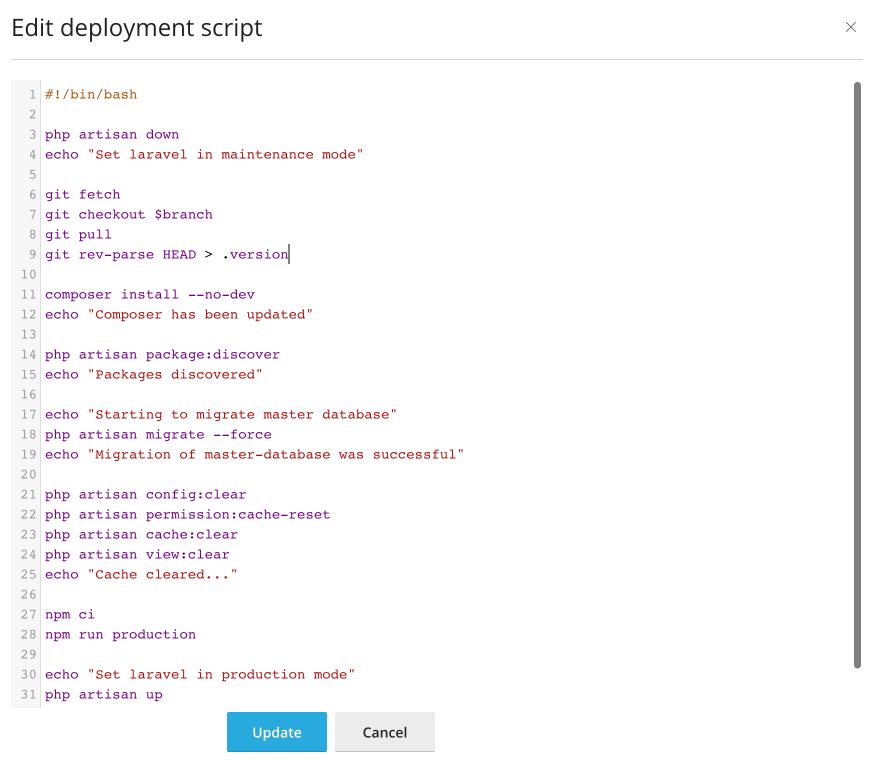
You can easily deploy and update your Laravel application from a remote Git repository.
To do so, switch to the ‘Deployment‘ tab, and then click the ‘Update‘ button. This will pull the latest changes from the repository, and also install the required Composer dependencies.
I hope you’re as excited to try the Laravel Toolkit as we are!
